GOOD HEART BAD MOUTH POLY CANVAS ZIP CASE
Share
Hello friends! I have been making fun projects to celebrate the kids going back to school... I think I'm more excited than Edward. I am thinking about sneaking this in his bookbag for his first day of school... I'm sure he will be like WTF because he does not like marvel... I know... Something is wrong with him. I love marvel movies and characters! Come see how I created this adorable Poly-Canvas Zip Case using Artesprix's Sublimation Markers and the Good Heart Bad Mouth and Full Circle Stamp set. It’s super cool and I had a lot of fun making it.
Materials:
Ink Road Stamps: Good Heart Bad Mouth, Full Circle Vol3:Heros
Original and Pastel Sublimation Markers
Sublimation Ink Pad
Plain Copy Paper
Heat Source: Artesprix Heat Press, Dry Iron, or Home Iron
What are Artesprix Sublimation Markers?
Magic Ink that transfers their beautiful colors from plain copy paper to a polyester product with a heat source. Iron-on-Ink Markers are the way to personalize sublimation, which is specially formulated inks that transfer only when activated with heat.
Step-by-Step Tutorial:
Step 1. Place the Poly Canvas Zip Case on a piece of plain copy paper and trace the outline using a pencil to determine the area that you have to work on.
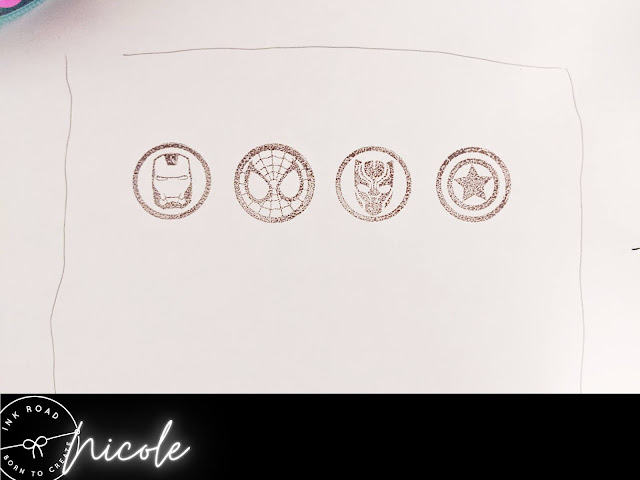
Step 2. Stamp the images onto the copy paper using Sublimation Ink.
Step 3. The ink may look a little muted...that's OK! Once it goes through the heat press, the colors will be vibrant!
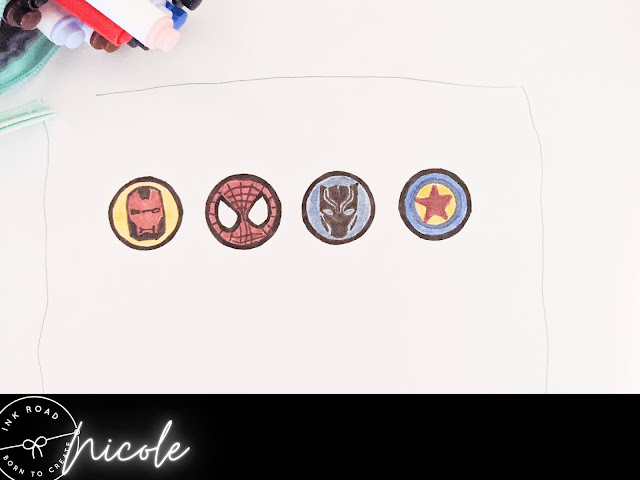
Step 4: Use the Sublimation Markers to color in your images. I used a fine tip black sublimation marker to go around the circles a few times. to make them bolder.
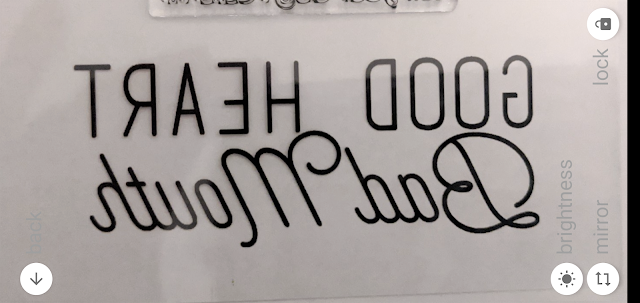
Step 5: I used a tracing application on my phone to take a picture of the stamp. Then I was able to flip it to mirror and trace the image over my phone for the text! Super cool!! And you can zoom the screen to make the text larger. I wish I had discovered this application sooner!

Step 6: Using the Artesprix Heat Tape, tape your blank down to your design. Next, Create your sublimation sandwich. Cut two pieces of Protective Paper to cover your project on the top and bottom. Place a small piece of protective paper inside the canvas to prevent the ink from bleeding through the canvas.
Step 7. Turn your heat press on and set the temperature to 400 degrees Fahrenheit and the timer for 45 seconds.
Step 8. Place it inside the Heat Press (making sure the zipper is placed on the outer edge of the heat press) and close the machine. The Heat Press will beep indicating that your project is finished!
Step 6. While wearing protective gloves, lift the handle and remove your Poly-Canvas Zip Case. Place it on the Protective Project Mat and give it about 2 minutes to cool down. Gently remove protective paper to reveal your vivid design!
Thanks so much for stopping by today!


